Piacere (Nice to Meet You), Firenze!
Photos taken by Avanee Dalmia (Brown University), Student Correspondent for CET Florence, Summer 2025 Villa Demidoff and Lunch in the Hills After settling in and orientation, CET organized
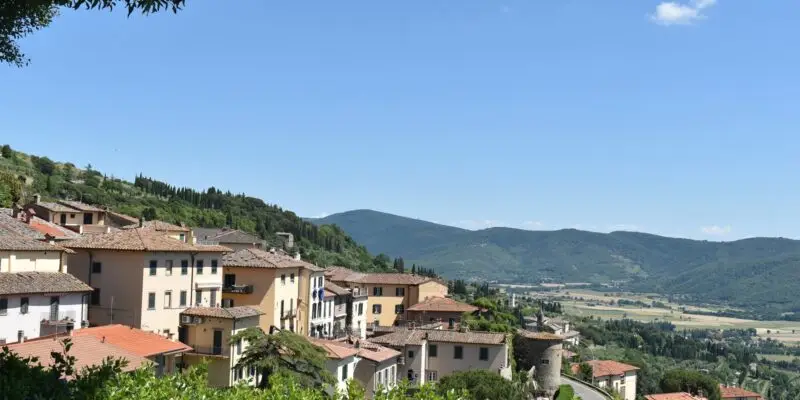
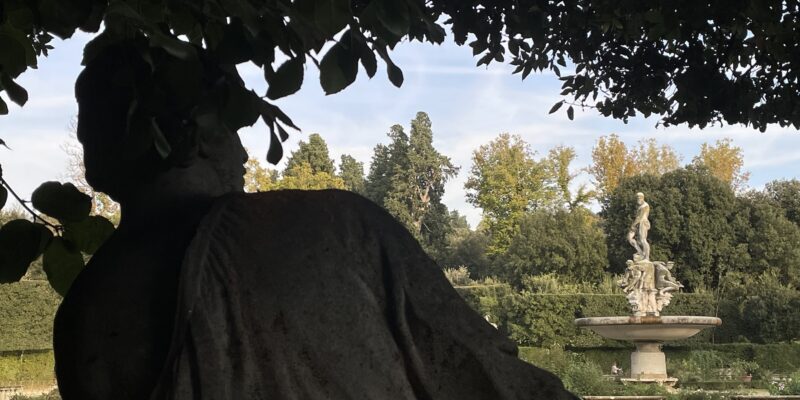
Getting to Know Tuscany: Long Lunches, Winding Streets, Homestay, Late Spring Greenery & More
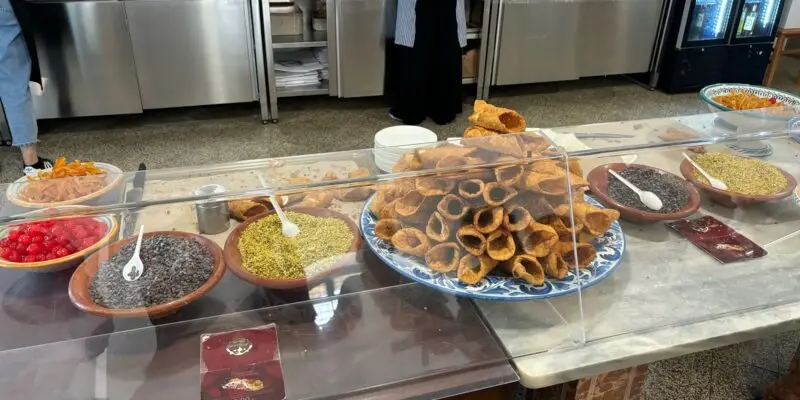
Photos taken by Isla Cope (Brandeis University), Student Correspondent for CET Siena, Summer 2025 Lunch and Views: Orientation Week in Tuscany Snapshot of our multi-course Italian lunch (on
Why You Should Study Abroad in Italy During the Fall
Debating whether to study abroad in Italy in the fall, spring, or summer? In an ideal world, you’d be able to study abroad for the
What I Wish I Knew Before Studying Abroad in Florence
Written by Patty Bessie (Columbia University), Student Correspondent for CET Florence, Spring 2025 Studying abroad in Florence is, in many ways, a dream come true. Art, history, gelato
Growth through Assimilation: How Florence became my Classroom
Written by Heidi McGannon (Davidson College), Campus Ambassador for CET Florence The Art of La Bella Figura This past fall, in a grand yellow building
My Homestay Experience while Studying Abroad in Florence, Italy
Written by Patty Bessie (Columbia University), Student Correspondent for CET Florence, Spring 2025 So, you’re debating whether to do a homestay? When I made the decision to study
Adjusting to Life Abroad: Tips for Studying Abroad
Written by Patty Bessie (Columbia University), Student Correspondent for CET Florence, Spring 2025 Studying abroad is an exciting opportunity to explore new cultures, gain independence, and make lifelong

Two-Euro Flip-Flops, Morning Cappuccinos, and the Art of Standing Out
Written by Ann Matthew (Vanderbilt University), Student Correspondent for CET Siena, Spring 2025 Another late night in beautiful Siena ended with Sahithi wearing my new yellow donut-patterned flip-flops
How to Study Abroad on a Budget: A Step-by-Step Guide for First-Generation and Low-Income Students
Written by Patty Bessie (Columbia University), Student Correspondent for CET Florence, Spring 2025 As a first-generation, low-income college student, studying abroad felt like an impossible dream—something only wealthy
I Cannot Escape Good Art
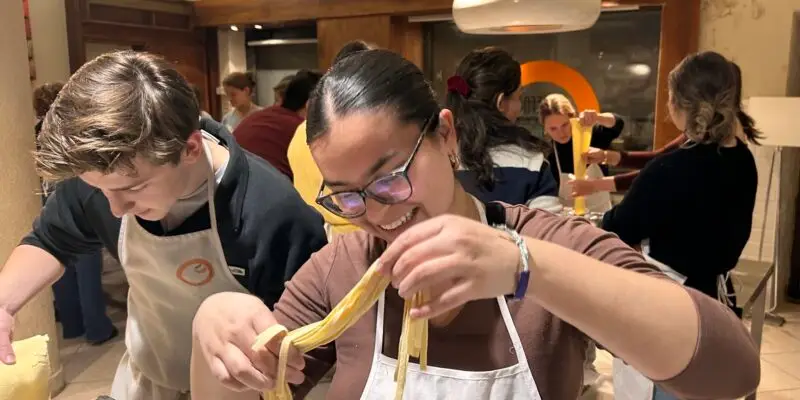
Photos taken by Asher Savel (Bowdoin College), Student Correspondent for CET Florence, Fall 2024 Trying to Eat My Own Art: Cooking Class On a weary Monday night,